Create and manage roles
✨ The Roles screen lists what each role lets people do in your team. A role is a name given to a set of permissions: you then give it to members on the Users screen.
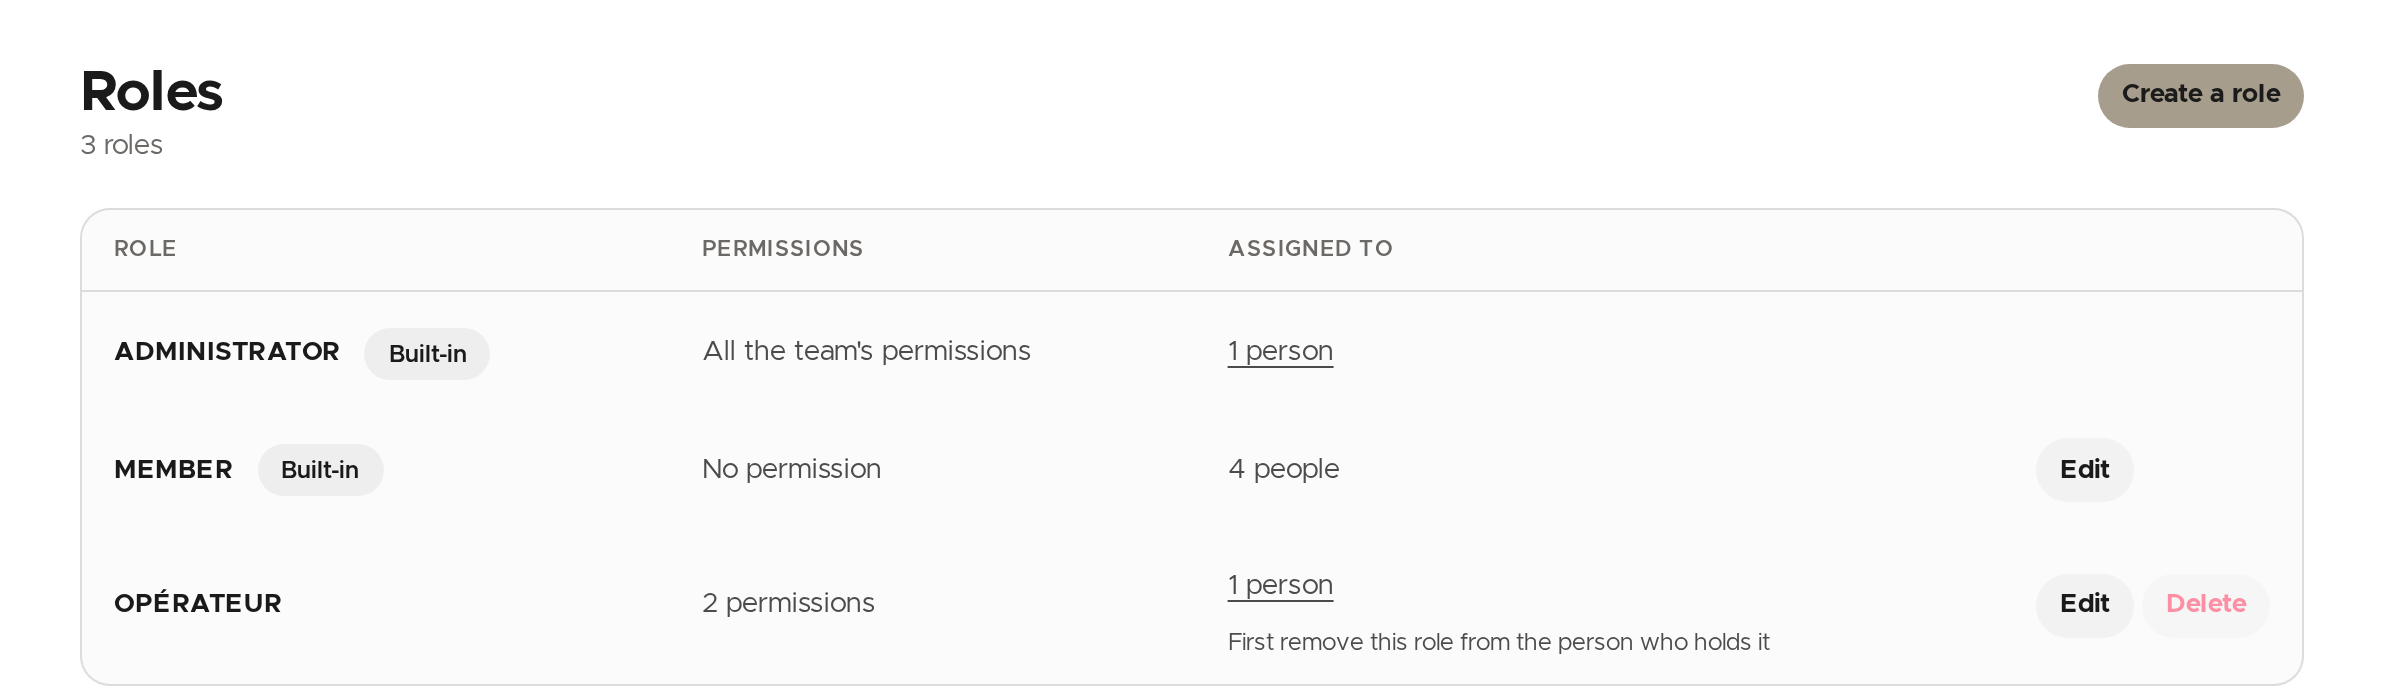
Two roles are Built-in:
- Administrator grants all the team's permissions. It is defined by la Vitre and cannot be edited.
- Member is given to every member of the team. It cannot be deleted and keeps its name, but you can add permissions to it.
The other roles are the ones your team created. The Assigned to column shows how many people hold them; click that number to see those people in the members list.
Create a role
- Click Create a role.
- Enter the Role name. The Identifier fills in by itself from the name; you can change it, but it cannot be modified afterwards.
- Tick the role's permissions. They are grouped by area (Vitres, Team, Spaces…): click an area to unfold it, or use Search a permission.
- Click Create the role.
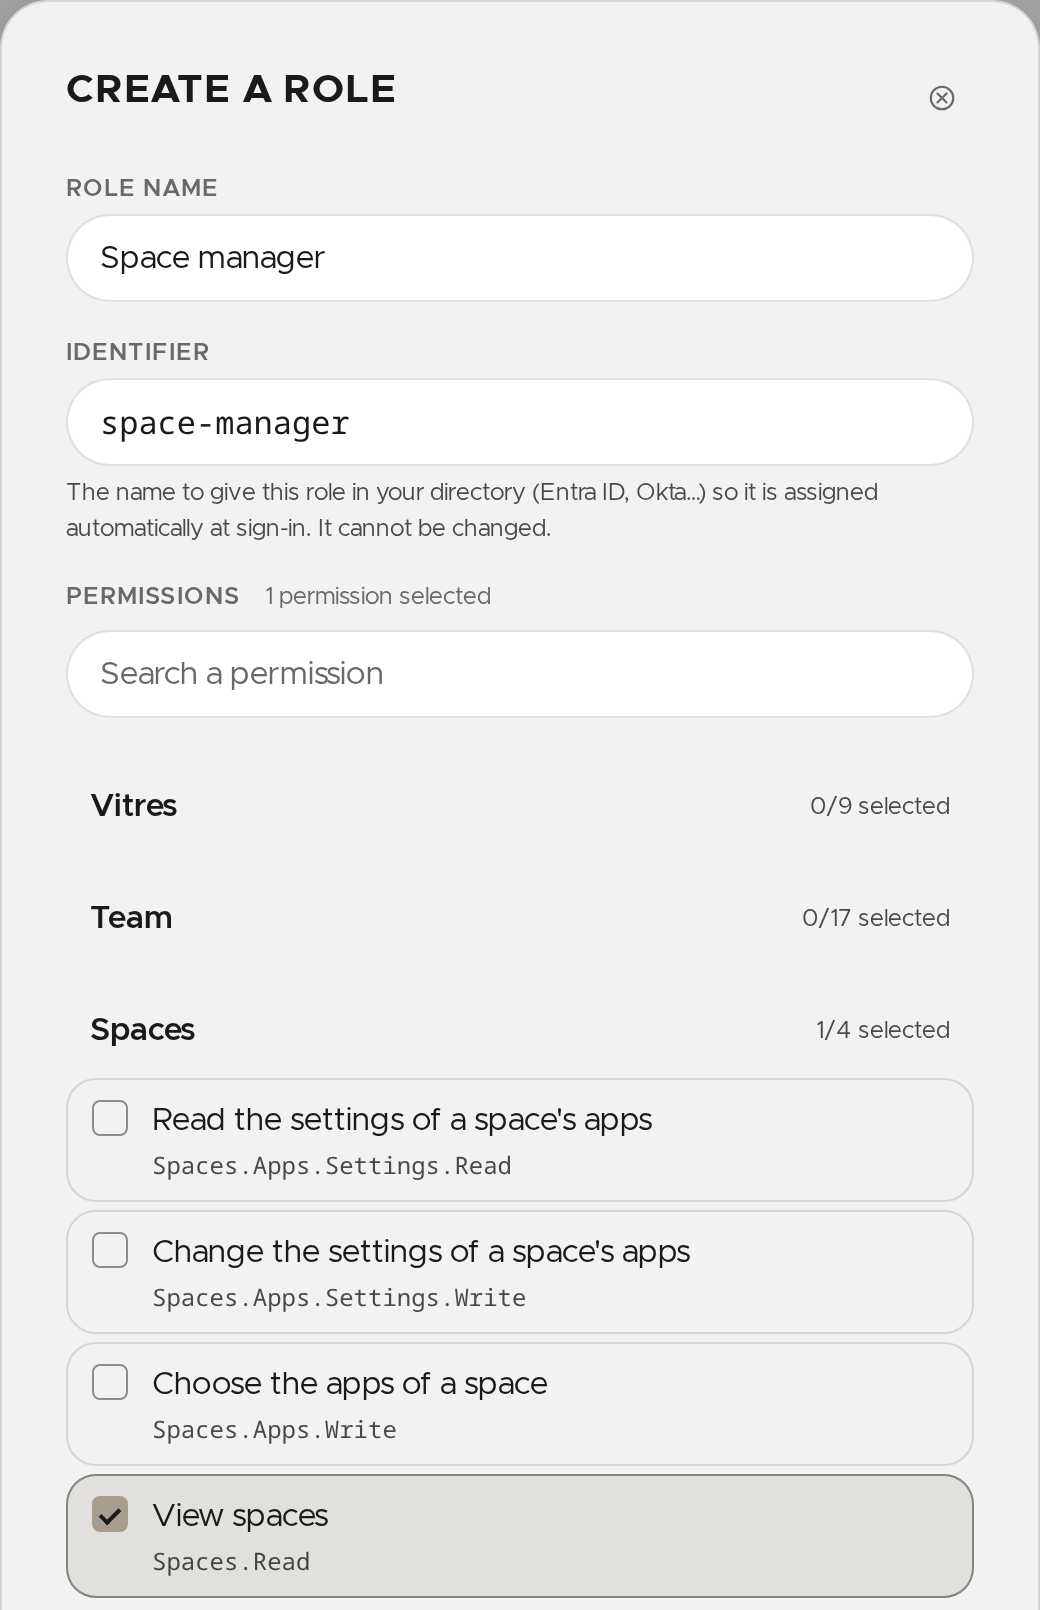
💡 You can only grant permissions you hold yourself: the others are greyed out with the note "You do not hold this permission".
The role appears in the list, and you can give it to members.
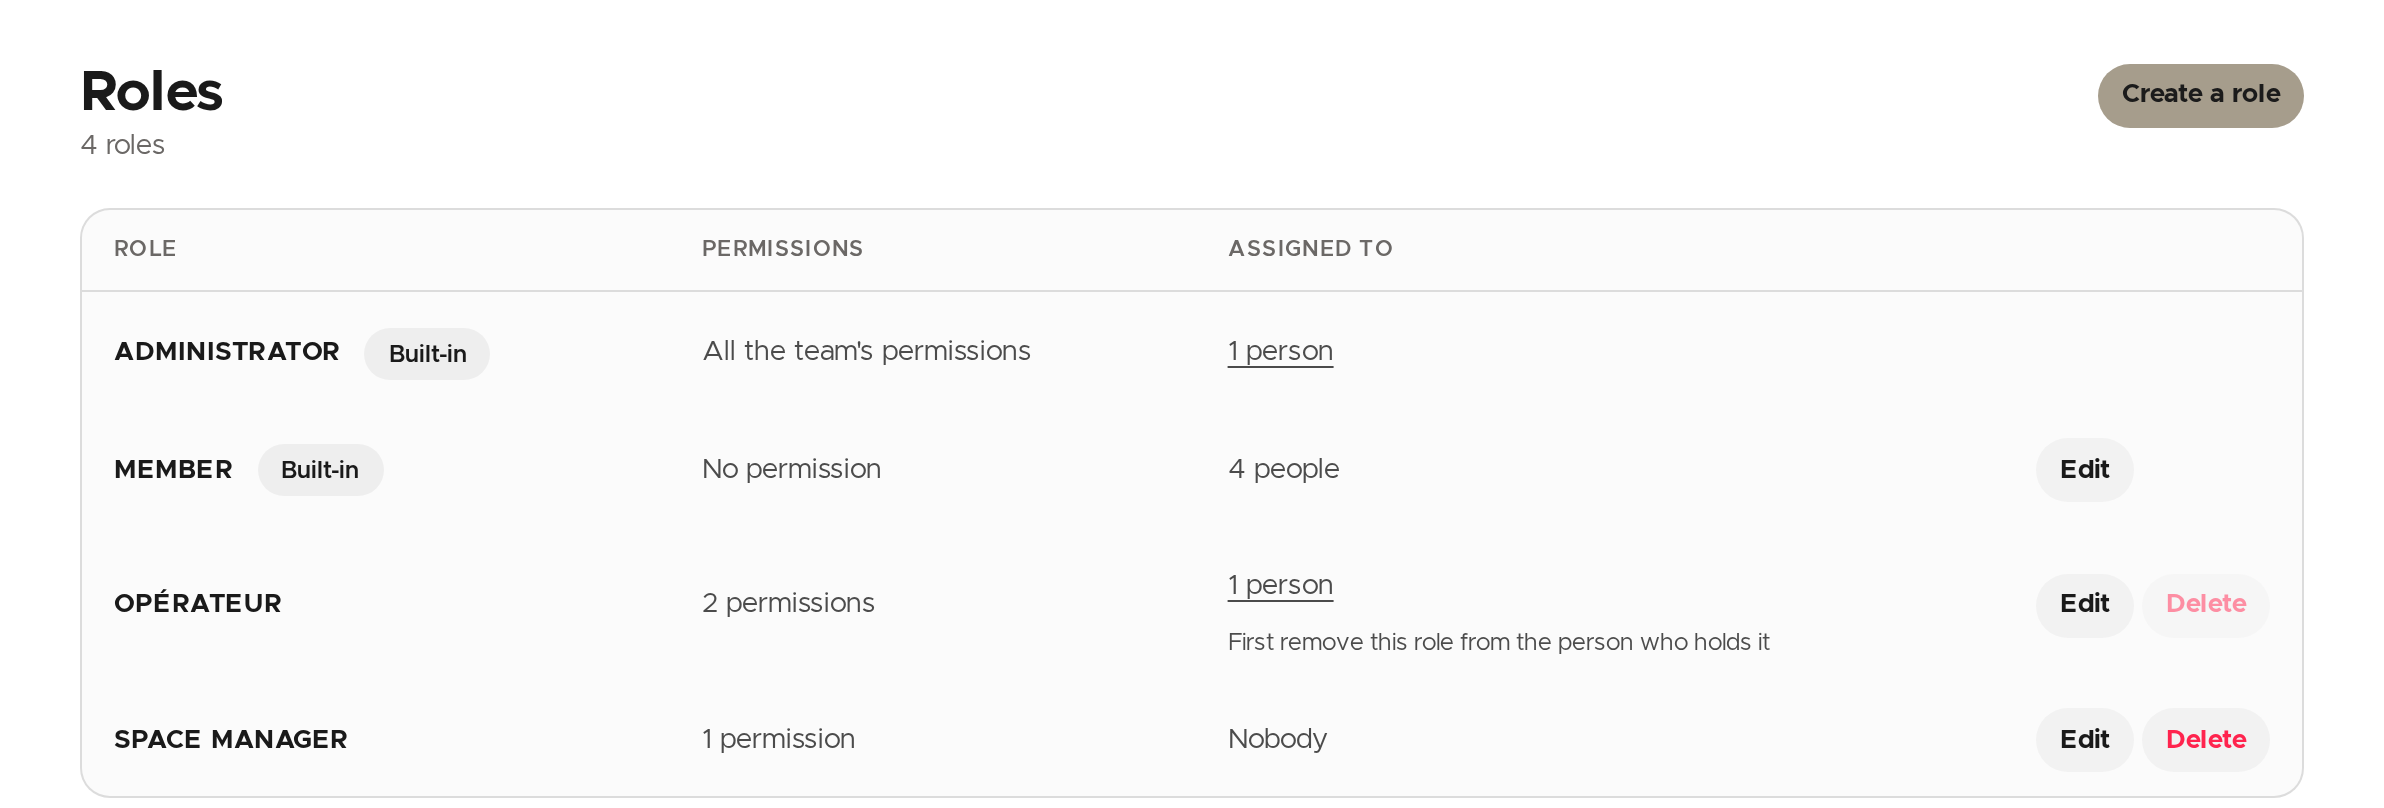
The identifier is also used to assign the role automatically at sign-in: it is the name to give this role in your directory (Entra ID, Okta…).
Edit a role
- On the role's row, click Edit.
- Change its name or its permissions.
- Click Save the role.
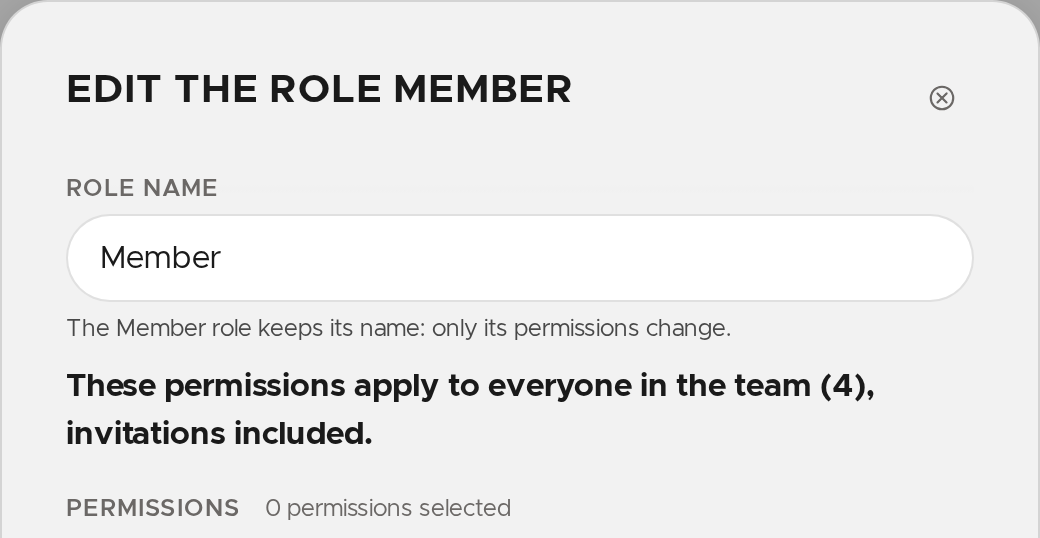
For the Member role, only the permissions can be changed. They apply to everyone in the team, invitations included.
Delete a role
Click Delete on the role's row, then confirm. A role that is still assigned cannot be deleted: first remove it from the people who hold it, on the Users screen.
✨ Missing information?
This Help Center evolves with your needs.Let us know which terms, features, or use cases should be clarified, or contact support for personalized assistance.
Bringing you closer to what matters. We are enriching this resource together.